How to create a pipeline
To create a pipeline, you must log in to LeapLogic after creating an account (see Prerequisites for more details) and follow the steps below:
- Click Batch Transformation > Design or Batch Transformation > Pipeline > CREATE PIPELINE card on the left navigation pane.

- On the Pipeline Design page, you can see various stages placed on the top pane. To design the pipeline, drag and drop the required stages (Migration/ Transformation/ ETL Conversion/ BI Conversion/ Analytics Conversion/ Orchestration Conversion/ Validation/ Execution) onto the design workspace.

- Connect the stages to create an integrated pipeline like Migration + Transformation + Validation or Transformation + Execution, etc.

- Double click individual stages to open their configuration panel.
- Configure all the required inputs for the individual stage.
- click
 to save the stage.
 - You will automatically be redirected to the pipeline and the configured stage turns into Blue color.
- Similarly, you can configure other stages.
- Save the pipeline and rename it as per your preference.
- Click
 from the right top corner of the screen to execute the integrated or standalone pipeline. Clicking
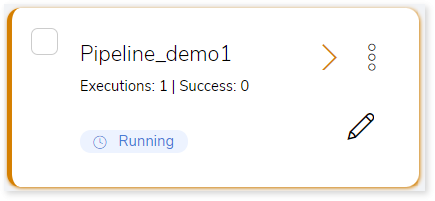
  (Execute) navigates you to the listing page which shows your pipeline status as Running state. It changes its state to Success when it is completed successfully.

- Click on your pipeline card to see detailed reports or download the generated artifacts, etc.
Next:
Configuring Migration Stage