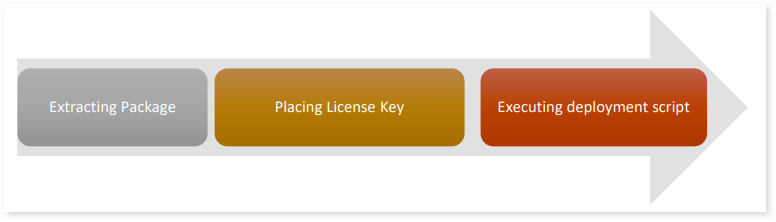
Deployment
This section provides a step-by-step process for LeapLogic deployment in a single-node mode.
In this Topic:
Download the LeapLogic tar bundle on your Linux machine.
The LeapLogic build is shipped as a tar package. Follow the below given steps to extract the same.
- Copy the LeapLogic package – leaplogic-{version}.tar.gz to a directory on the server where user has the access.
- Please place the LeapLogic bundle on the same partition where 500 GB disk is allocated.
- Extract the package from the archived file using the command below.
tar -xzf leaplogic-{version}.tar.gz
A directory with the name leaplogic-{version} is created.
Change the current directory to the above extracted directory using the command below.
This directory is referenced as LEAPLOGIC_HOME. Ensure that the ownership of the LEAPLOGIC_HOME directory is same as the user deploying the LeapLogic build.
Placing License Key
Also, download the private key on your Linux machine.
Copy the key inside Leaplogic-bundle/Key directory from your local system with help of any sftp tool like WinSCP.
Enabling LeapLogic AI (Optional)
Follow the below steps before executing the below given deployment command to enable conversion via LeapLogic AI.
- Navigate to the LEAPLOGIC_HOME/bin location.
- Open the idw-env.sh file.
- Update the “AI_AUGMENTATION_ENABLE” flag to true.
- If you want to use LeapLogic’s Postgres database for LeapLogic AI, provide the LeapLogic AI bundle path in the “AI_AUGMENTATION_INSTALL_DIR” flag.
Example:
export AI_AUGMENTATION_INSTALL_DIR=”/home/ec2-user/llm-service/”;
- Alternatively, update the “AI_AUGMENTATION_INSTALLED” flag to true only when LeapLogic AI is already deployed using some external database such as Amazon RDS or MySQL.
- Save and Exit.
Executing Deployment Script
Execute the deploy-leaplogic.sh script to configure and start LeapLogic services using a single command:
${LEAPLOGIC_HOME}/bin/deploy-leaplogic.sh
This command may take a little while to execute. Please wait.
Accessing LeapLogic
Once the above script is executed successfully, you will get a URL through which you can access the LeapLogic UI.
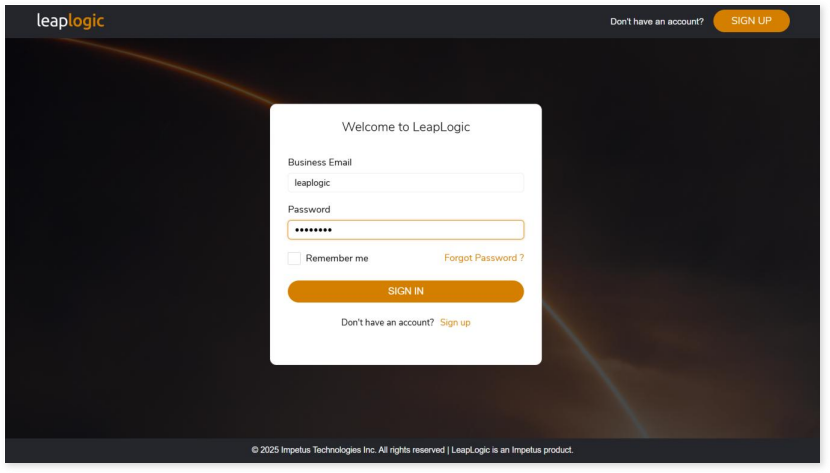
Use the default user credentials given below.
- Username – leaplogic
- Password – R4Ak#P9G