Adding Roles and Permissions
LeapLogic provides many functionalities which can be configured as per the user roles and permissions. After creating a new user or group account, it must be configured with roles, such as admin, super user, guest user, etc., and permissions to perform tasks.
In This Topic:
How to add Roles and Permissions to a new user?
To add roles and permissions to a new user, follow the steps below:
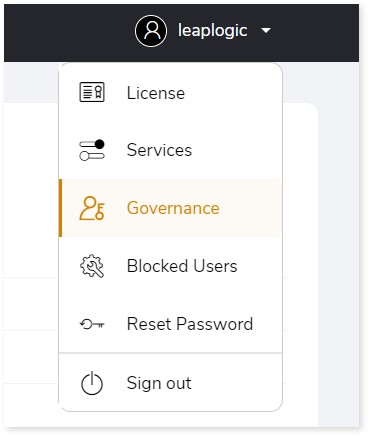
- Click your username at the top right corner of the screen.
- Click Governance from the menu.
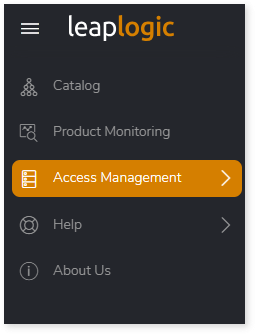
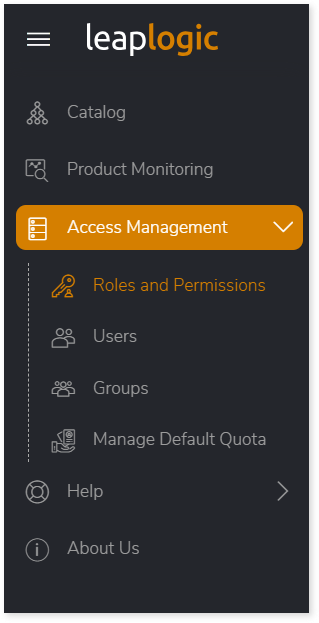
- Using the left navigation menu, choose Access Management.
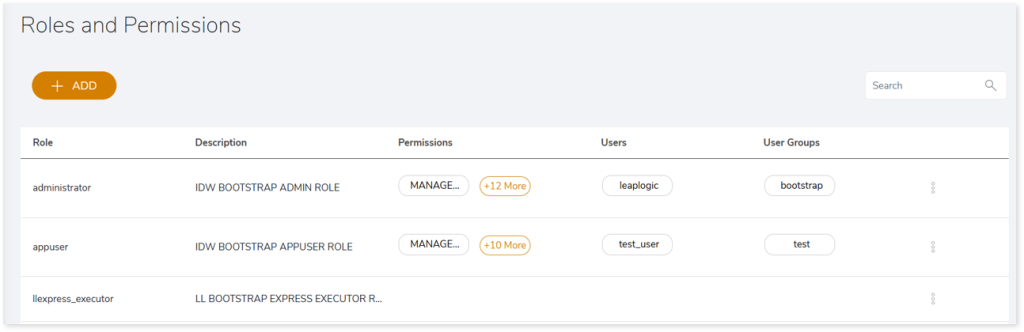
- Now click on Roles and Permissions option.
- Click + ADD to assign roles and permissions to the user.
- The Add Role page appears. In Role Name, specify name of the role.
- In Description, enter the description of the role.
- In Assign to users / groups, select the required username or group name to which you need to assign the roles and permissions.
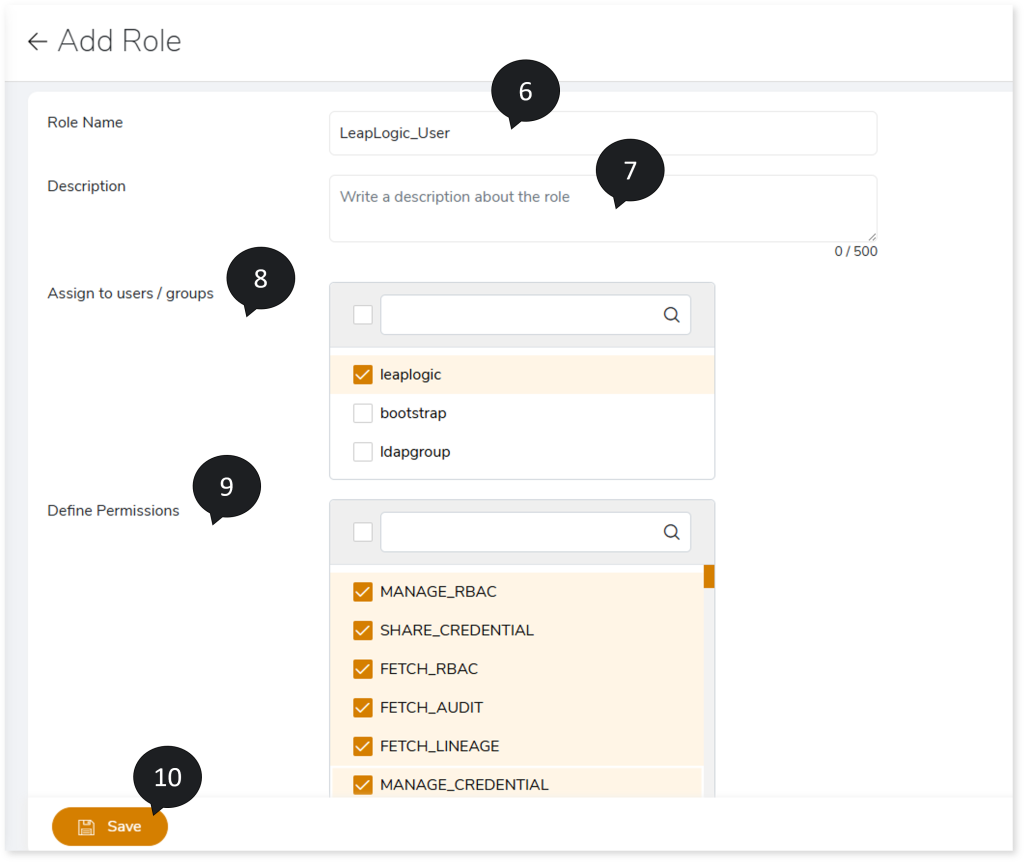
- In Define Permissions, select the required permissions to assign to the user/group.
- Click Save to update the roles and permissions. If the roles and permissions are added successfully, the system displays an alerting snackbar pop-up to notify the success message.
